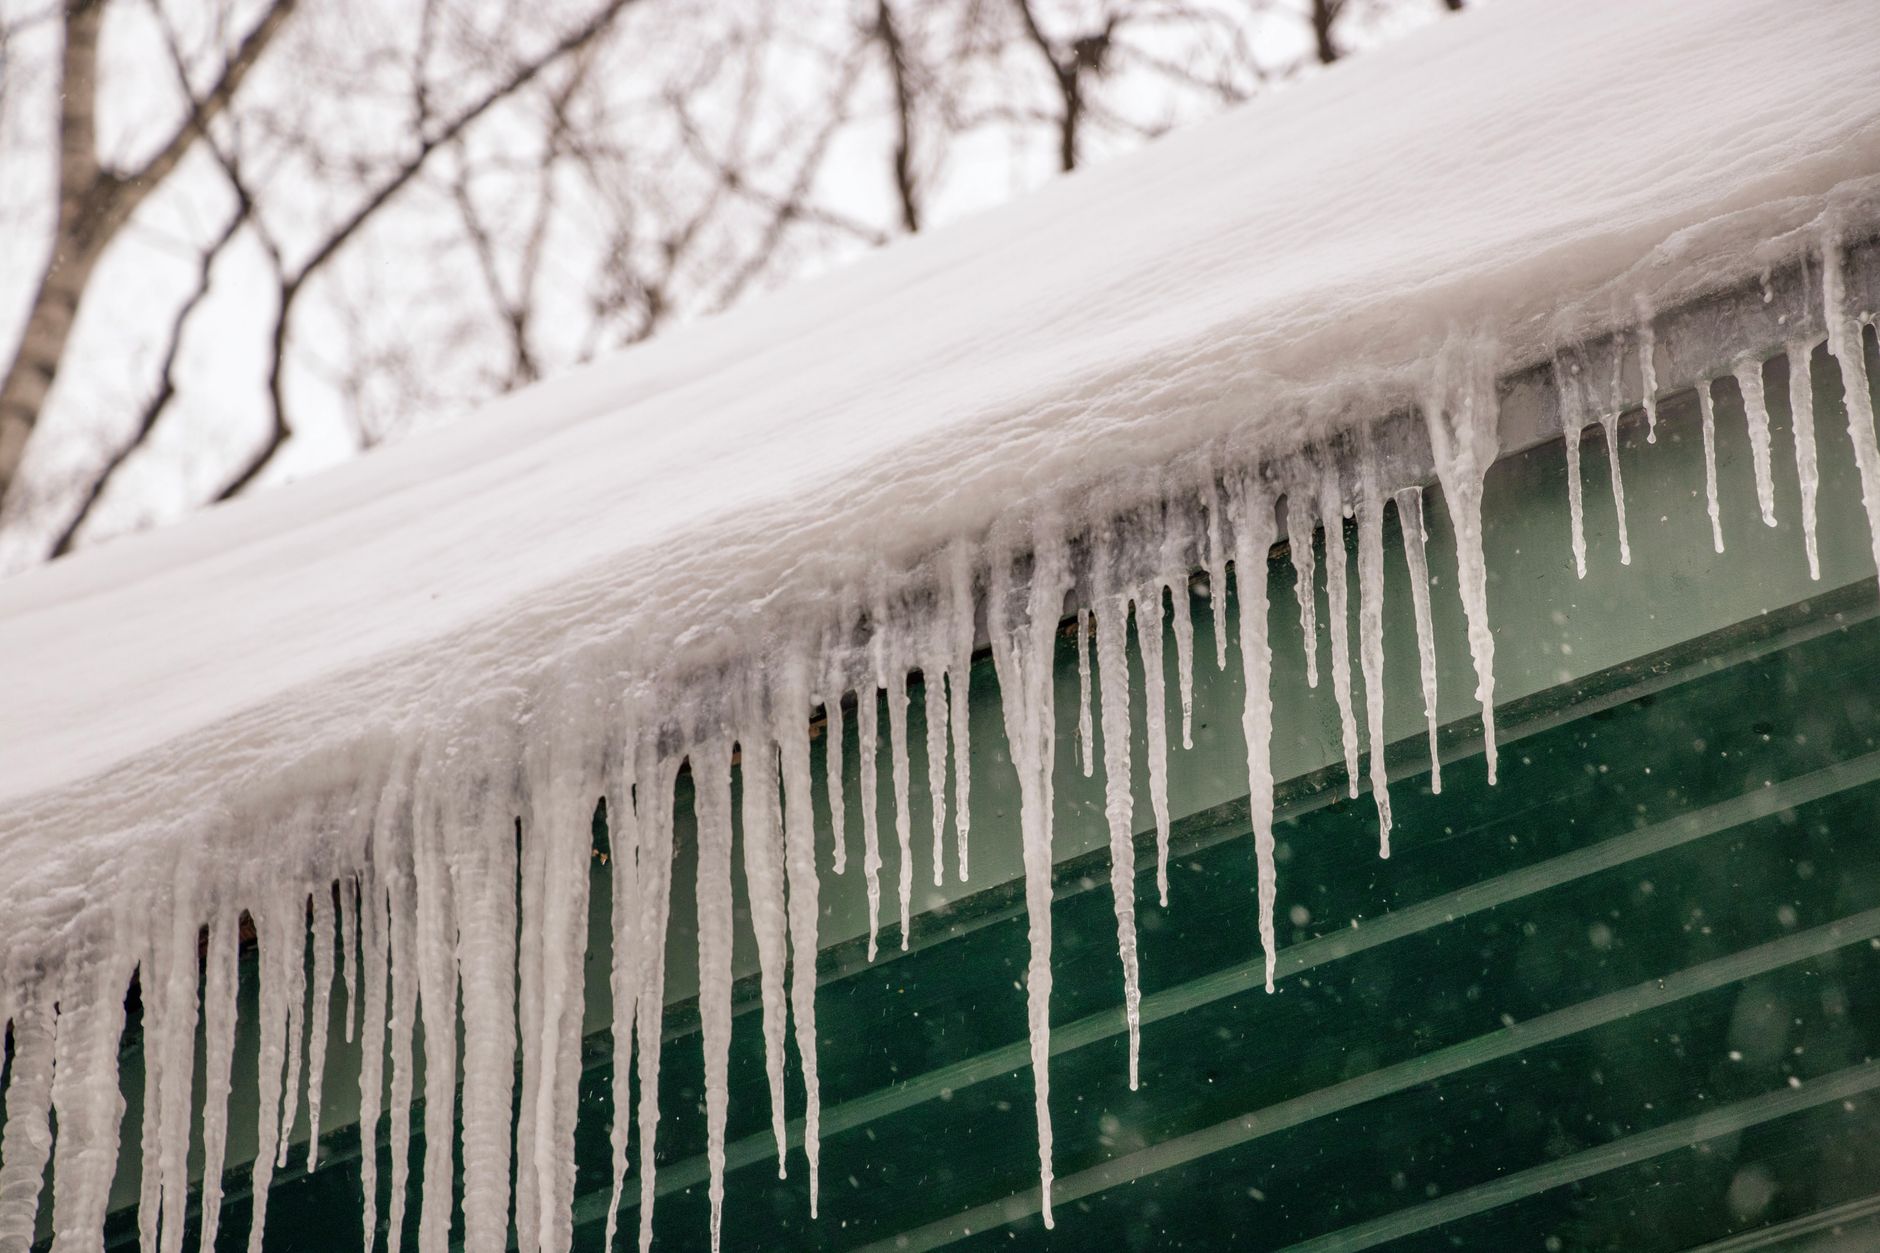
The roof and attic are often overlooked, yet they represent a significant pathway for heat to escape your home. Building-science research indicates that together, the roof and attic can account for roughly 25-30% of a typical home’s heating energy consumption. This means a substantial portion of your heating bill could be attributed to heat lost through an inadequately sealed or insulated roof. Understanding how heat escapes and identifying specific problem areas is the first step towards improving your home's energy performance.
Using Snow as a Diagnostic Tool
A practical, low-cost way to diagnose roof heat loss is to 'read' your roof after a fresh snowstorm. As described by building scientist Allison A. Bailes III, PhD, snow that melts in isolated patches or streaks on your roof often reveals where warm air is leaking from your home or where insulation is insufficient. A uniformly snow-covered roof, conversely, suggests minimal heat transfer and a well-performing thermal envelope.
Consider a case study from Atlanta, where north-facing roofs retained snow across most surfaces, but showed distinct melt zones above a furnace flue, bathroom exhaust ducts, and former plumbing stacks. These areas pointed directly to penetrations where warm air or conduction bypassed the insulation. Homes with well-sealed, fully insulated attics maintained an even blanket of snow, indicating consistent temperatures and reduced heat transfer. In contrast, roofs with uninsulated dormers, vaulted ceilings, or numerous roof penetrations displayed irregular melt patterns, confirming localized heat bridges. This visual audit provides a clear roadmap for targeted upgrades.
Understanding Key Contributors to Roof Heat Loss
To effectively stop heat from escaping, it's essential to understand the primary mechanisms at play. These are often interconnected, exacerbating the overall problem:
- Air Leakage: This is the uncontrolled infiltration of conditioned (heated) air from your living space into the attic. Common culprits include unsealed penetrations like electrical wires, plumbing stacks, recessed lights, and chimney flues. Significant leakage also occurs at the junction where walls meet the roof, especially if the top plates are not adequately sealed. This warm, moist air not only wastes energy but can also lead to moisture problems in the attic, potentially compromising insulation and fostering mold growth.
- Insulation Gaps and Compression: Even if insulation is present, its effectiveness can be severely compromised by gaps or compression. Missing sections of spray foam or batt insulation, particularly above exterior walls (e.g., in knee walls or around soffit vents), create direct pathways for heat transfer. Insulation can also become compressed over time due to storage in the attic or foot traffic, reducing its R-value and thermal resistance. Inconsistent application around framing or difficult-to-reach areas further contributes to localized heat loss.
- Duct and Vent Conduction: Metal exhaust and supply ducts that run through an unconditioned attic space act as thermal bridges. If these ducts are uninsulated or poorly sealed, they can transfer heat directly from the warm air inside them to the colder attic environment, and subsequently to the roof deck. This is particularly prevalent with furnace flues, bathroom exhaust ducts, and dryer vents, which carry significant amounts of warm, often moist, air. Even when insulated, gaps or tears in the insulation wrap can severely reduce its effectiveness.
- Thermal Bridging through the Roof Deck: While wood rafters offer some modest thermal resistance, they are less insulative than the surrounding insulation. This creates "thermal bridges" where heat can more easily conduct through the structural elements of the roof deck itself. Without a continuous air barrier and adequate insulation directly beneath the roof sheathing, warm attic air can raise the temperature of the roof deck, accelerating snow melt and increasing heat loss. This effect is compounded in areas with complex framing or numerous structural intersections.
Practical Steps to Mitigate Roof Heat Loss
Addressing heat loss through your roof involves a combination of strategies, focusing on both air sealing and insulation improvements.
1. Air-Seal the Attic Thoroughly
This is often the most cost-effective first step. Apply caulk, expanding spray foam, or gasket tape around all penetrations in the attic floor and ceiling below. Key areas include:
- Around chimney flues and furnace vents.
- Where plumbing pipes and electrical wires pass through the ceiling.
- At the perimeter where the attic floor meets the exterior walls (the top plates).
- Around attic access hatches – these should be insulated and weatherstripped.
- Recessed light fixtures that are not IC-rated (Insulation Contact rated) may need special air-sealing enclosures.
Sealing these pathways prevents warm, conditioned air from directly entering the attic, significantly reducing heat loss. Ensure any sealing around heat-generating elements like flues complies with local fire codes and uses appropriate non-combustible materials.
2. Increase Attic Insulation R-value
Once air leakage is controlled, enhance your attic's thermal resistance. Meet or exceed the latest International Energy Conservation Code (IECC) requirements, which typically mandate R-38 to R-49 for attics in most U.S. climate zones, with higher values in colder regions. The R-value measures thermal resistance; a higher R-value indicates better insulating properties. Achieving these values often requires adding insulation to existing levels or installing new, high-performance materials.
To learn more about optimal insulation levels, read our guide on Understanding R-Value for Home Insulation.
Effective options include:
- Blown-in Cellulose or Fiberglass: These are ideal for filling irregular spaces, providing a uniform layer over existing insulation, and achieving higher R-values. Dense-packed cellulose also offers excellent air-sealing benefits.
- Closed-cell Spray Foam: This material provides superior R-value per inch and acts as both an air barrier and a vapor barrier, making it highly effective for complex attics or unvented roof assemblies. It adheres directly to the roof deck, eliminating thermal bridging through rafters.
- Fiberglass Batts: While less effective at air sealing than blown-in or spray foam, batts can be useful for specific areas like knee walls or attic floors, provided they are carefully cut and installed without gaps or compression.
3. Thermally Break Ducts and Penetrations
Insulate any metal ducts, especially supply and return ducts, that run through unconditioned attic spaces. Use at least R-6 pipe wrap and ensure all joints and seams are thoroughly sealed with mastic or appropriate tape to prevent conductive heat loss and air leakage. Where feasible, relocating ducts into the conditioned space or creating a conditioned attic can dramatically reduce energy waste and improve system efficiency. For furnace flues and exhaust vents, ensure they are properly sealed where they penetrate the attic floor and roof, using fire-rated materials where necessary.
4. Address Roof-Deck Insulation and Thermal Bridging
For more extensive renovations or when replacing a roof, consider applying a continuous layer of rigid foam or spray foam insulation directly under the roof sheathing. This strategy is particularly effective at reducing thermal bridging through rafters and creating a more robust thermal envelope. This approach aligns with modern unvented attic designs, which bring the attic space into the conditioned envelope of the home.
5. Consider Vented vs. Unvented Attic Designs
Traditionally, attics are vented to control moisture and manage temperature. However, a well-air-sealed and insulated "unvented" or "conditioned" attic, typically achieved with spray foam directly on the underside of the roof deck, can eliminate the need for ventilation by making the attic part of the conditioned space. This approach has gained traction for its superior energy performance and comfort benefits. In colder climates, marginal cases might still benefit from limited ventilation, especially if moisture management is a concern, so balancing these designs with local building codes and climate conditions is crucial.
Comparing Heat Loss Contributors & Mitigation Strategies
Understanding which issues are most prevalent in a home can help homeowners prioritize their energy efficiency upgrades. Below is a summary of common heat loss pathways and their corresponding mitigation methods:
| Heat Loss Contributor | Symptoms on Snow-Covered Roof | Primary Mitigation Strategy | Expected Impact |
|---|---|---|---|
| Air Leakage (e.g., around penetrations, top plates) | Localized melt spots, streaks above specific penetrations (vents, flues, lights) | Thorough attic air sealing (caulk, foam, gaskets) | Significant reduction in heat transfer and moisture issues |
| Insulation Gaps & Compression (e.g., above walls, in corners) | Irregular melt patches, faster melt over specific areas | Adding or dense-packing insulation to achieve R-value targets (blown-in cellulose/fiberglass, spray foam) | Improved thermal resistance, consistent attic temperatures |
| Duct & Vent Conduction (uninsulated ducts in attic) | Melt patterns following duct runs or directly above exhaust points | Insulating ducts with R-6 wrap, sealing joints, potentially relocating ducts | Reduced heat transfer from ducts to attic and roof deck |
| Thermal Bridging (through rafters, framing) | Melt patterns that align with roof framing members (less common, usually visible with other issues) | Continuous insulation layer under sheathing (rigid foam, spray foam) or unvented attic design | Eliminates structural heat conduction, enhances overall R-value |
Benefits of Addressing Roof Heat Loss
By combining these strategies, homeowners can reduce roof-related heat loss by up to 50%, translating into tangible benefits:
- Annual Heating Savings: Expect annual heating savings of $200-$500 in moderate climates, with potentially higher savings in colder regions.
- Enhanced Indoor Comfort: More consistent indoor temperatures, reducing drafts and cold spots.
- Improved Home Durability: Reduced moisture accumulation in the attic, mitigating risks of mold, mildew, and structural damage.
- Extended Roof Lifespan: A cooler roof deck in winter can help prevent ice dam formation, which can damage shingles and gutters.
- Environmental Impact: Lower energy consumption means a reduced carbon footprint.
Before undertaking any major upgrades, consult with local building professionals to ensure compliance with the International Energy Conservation Code (IECC) for attic R-value requirements (R-38 to R-49 depending on climate zone). Additionally, ENERGY STAR® and local utility rebate programs often cover qualifying insulation and air-sealing projects when installed by certified contractors. Ensure any roof-penetration sealing complies with local fire-rated flashing and ventilation code requirements to maintain safety and efficiency.
Considering a comprehensive energy overhaul? Discover the advantages of a full Home Energy Audit to pinpoint all areas of inefficiency.
Conclusion
Stopping heat from escaping through your roof is a crucial step towards a more energy-efficient and comfortable home. By leveraging simple diagnostic tools like snow patterns, coupled with targeted air sealing, insulation upgrades, and careful consideration of attic design, homeowners can significantly reduce energy waste. These improvements not only lead to substantial savings on heating bills but also contribute to a healthier, more durable living environment. A strategic approach, informed by building science and current codes, ensures that your investment in efficiency delivers lasting value and performance.
Need help determining which insulation upgrade is suitable for your home? Consider consulting a qualified energy professional to assess your specific situation.

