The average U.S. residential electricity bill was $144 in 2024, or roughly $1,700 a year. That figure rarely comes down through one dramatic change. It comes down through a sequence of targeted fixes, ordered by how much energy each end use actually consumes in a typical home.
Three systems do most of the work: heating and cooling, water heating, and lighting plus plugged-in electronics. Everything below is organized around them, with the measurements included so you can estimate what a change is worth before spending money on it.
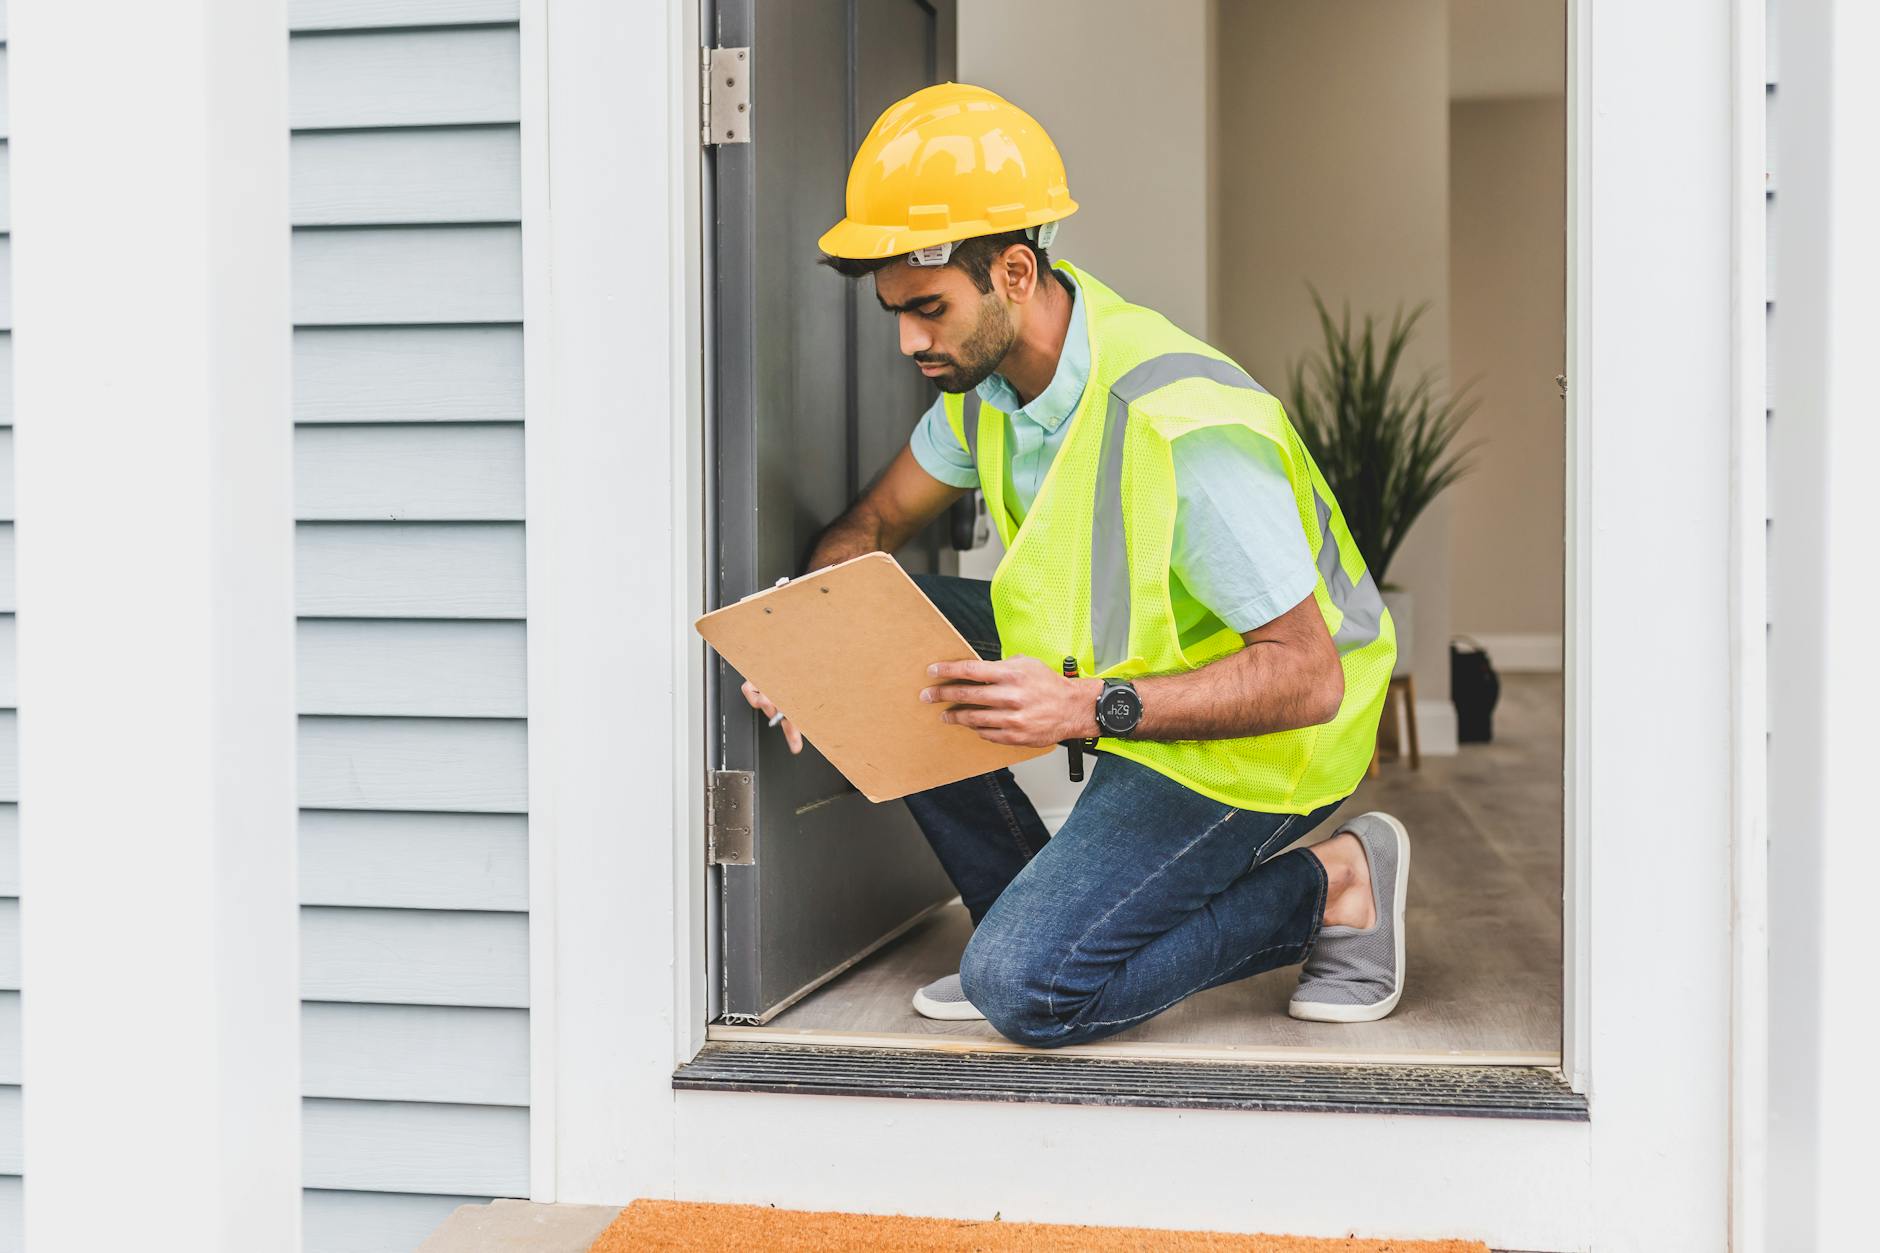
Step 1: Start With a Home Energy Audit
Before buying anything, find out where your electricity is going and where it is leaking. Most utility providers offer a home energy audit at no cost, and some extend free efficiency upgrades to participants.
An audit is not a generic walkthrough. It typically includes a blower-door test that measures air leakage, an infrared scan that shows missing or thin insulation, and a check of the duct system for leaks or disconnected runs. Auditors also inspect window and door seals, which are frequent sources of conditioned air escaping year-round.
The output is a prioritized list: what to repair first, what is worth replacing, and what to leave alone. If you would rather review your own building first, our guide to what a home energy audit actually checks explains the equipment involved.
Step 2: Attack Heating and Cooling First
Heating and cooling remain the single largest category of household energy spending. The cheapest savings here are behavioral, and they are significant.
Move the thermostat, then automate it
Adjusting your thermostat by 7 to 10 degrees during sleep or away hours lowers annual heating and cooling costs by approximately 10%. A programmable or smart thermostat applies that adjustment consistently, which is where the full savings land. Manual changes tend to drift back within a few weeks.
Keep the system maintained
A clogged or dirty air filter forces the blower to work harder and restricts airflow across the coil. Replace filters roughly every one to three months, depending on filter type and whether you have pets. Schedule a professional HVAC tune-up annually so refrigerant levels, coil condition, and duct sealing stay within spec.
Sealing and insulating the duct runs in an attic or crawlspace is another high-value repair. Leaky ducts can deliver unconditioned air directly into living spaces, and sealing them is usually a small job with a measurable return.
Step 3: Reduce Water Heating Costs
Water heating is the second-largest home energy expense, and much of the waste is easy to identify.
Lower the water heater temperature
Manufacturers typically ship water heaters set to 140°F. Dropping the temperature to 120°F reduces energy costs by 4% to 22% per year. Scald risk is manageable: 120°F is the temperature most building codes require for new installations, and it still cleans effectively.
Shorten showers and upgrade the showerhead
A standard showerhead at 2.5 gallons per minute uses about 5 gallons of water per 2 minutes. Cutting two minutes from each shower saves that 5 gallons every time. Replacing an old showerhead with a WaterSense-labeled model rated at 2.0 GPM or less saves approximately 2,700 gallons of water annually.
Wash in warm or cold water
Washing clothes in warm or cold water instead of hot reduces the energy needed to heat that water, and modern detergents are formulated to work at lower temperatures.
Step 4: Fix Lighting and Standby Power
Lighting and electronics together account for 15% or more of total home energy use, which makes them the fastest category to improve without touching the roof or walls.
| Upgrade | What It Addresses | Typical Annual Saving |
|---|---|---|
| LED bulbs throughout the home | Lighting energy use and bulb replacement frequency | Around $225 |
| Smart power strips for electronics | Phantom load in standby mode | About $100 (5-10% of consumption) |
| Energy Star appliances at replacement time | Long-term appliance efficiency | 12% less energy and 30% less water from an Energy Star dishwasher on average |
Phantom load deserves its own line in the budget. TVs, game consoles, chargers, and set-top boxes draw power in standby mode, and that draw adds up to 5% to 10% of household consumption, or roughly $100 a year for a typical home. A switched power strip for the electronics wall removes the draw entirely when the strip is off. Several device manufacturers also offer settings that reduce standby consumption.
LED conversions are becoming easier to justify over time. Federal efficiency rules will phase out most incandescent bulbs by 2028, so replacing them now avoids buying bulbs that will disappear from shelves anyway.
Step 5: Talk to Your Utility
The utility company is a resource you have not fully used. Ask three specific questions:
- Is a time-of-use rate plan right for your household? Off-peak pricing can cut your bill substantially if you can shift heavy use, like laundry or dishwashing, to evenings or overnight. Many providers now offer a connected water heater or EV charger that runs automatically during cheaper hours.
- Which rebates are open? Utilities frequently rebate attic insulation, window replacements, efficient heat pumps, and smart thermostats. Some are stackable with manufacturer or federal tax credits.
- Is your rate structure the problem? A detailed review of your bill sometimes reveals a better rate class or a lower standing charge than the one you are on.
What to Prioritize When the Budget Is Limited
If you cannot fund everything, work through these in order. Each step is cheap relative to the next.
- Program the thermostat and shift household habits
- Replace filters and service the HVAC system
- Swap showerheads and drop the water heater to 120°F
- Convert remaining bulbs to LED
- Add switched power strips for electronics
- Fund insulation, window, or duct sealing from the audit findings
Steps one through five are largely habits and hardware you can buy in an afternoon. Step six is where an audit pays for itself, because it tells you which building upgrade reduces your bills the most rather than which one looks most impressive. If a thermal upgrade is next on your list, our insulation overview compares the common material options, and our window and glazing guide covers air sealing ratings that affect both comfort and energy loss.
Re-Take the Baseline
Measure your bill before and after each change, and keep the usage column, not just the dollar column, because rates change and usage does not. A single month tells you little. Three months of data around a seasonal change tells you whether the improvement held.
The combination is what produces durable results: low-cost habit changes, routine maintenance, and a small number of targeted efficiency investments. Any one of them alone moves the total only so far. Together, they compound into a bill that is lower every month without making the house less comfortable.
Unsure which upgrade would reduce your energy use the most? Talk to our team for a free, no-obligation assessment of your home and a clear picture of which projects to tackle first.
Assessing Long-Term Energy Savings
When investing in home upgrades, initial installation costs are only part of the equation. Homeowners must weigh upfront expenses against long-term utility bill reductions, thermal performance gains, and potential property value increases.
Material Quality and Durability Standards
Choosing high-performance materials—such as energy-efficient window glazing, advanced insulation fibers, or weather-resistant roofing—ensures structural longevity and minimizes ongoing maintenance overhead.

