Why roof heat loss matters
In many climates the roof contributes 30‑40% of a home’s total heating load. The roof sits at the highest point of the building envelope, so warm indoor air naturally rises toward it. When the attic is not tightly sealed, that warm air escapes through gaps, ducts, and penetrations, carrying both heat and moisture with it.
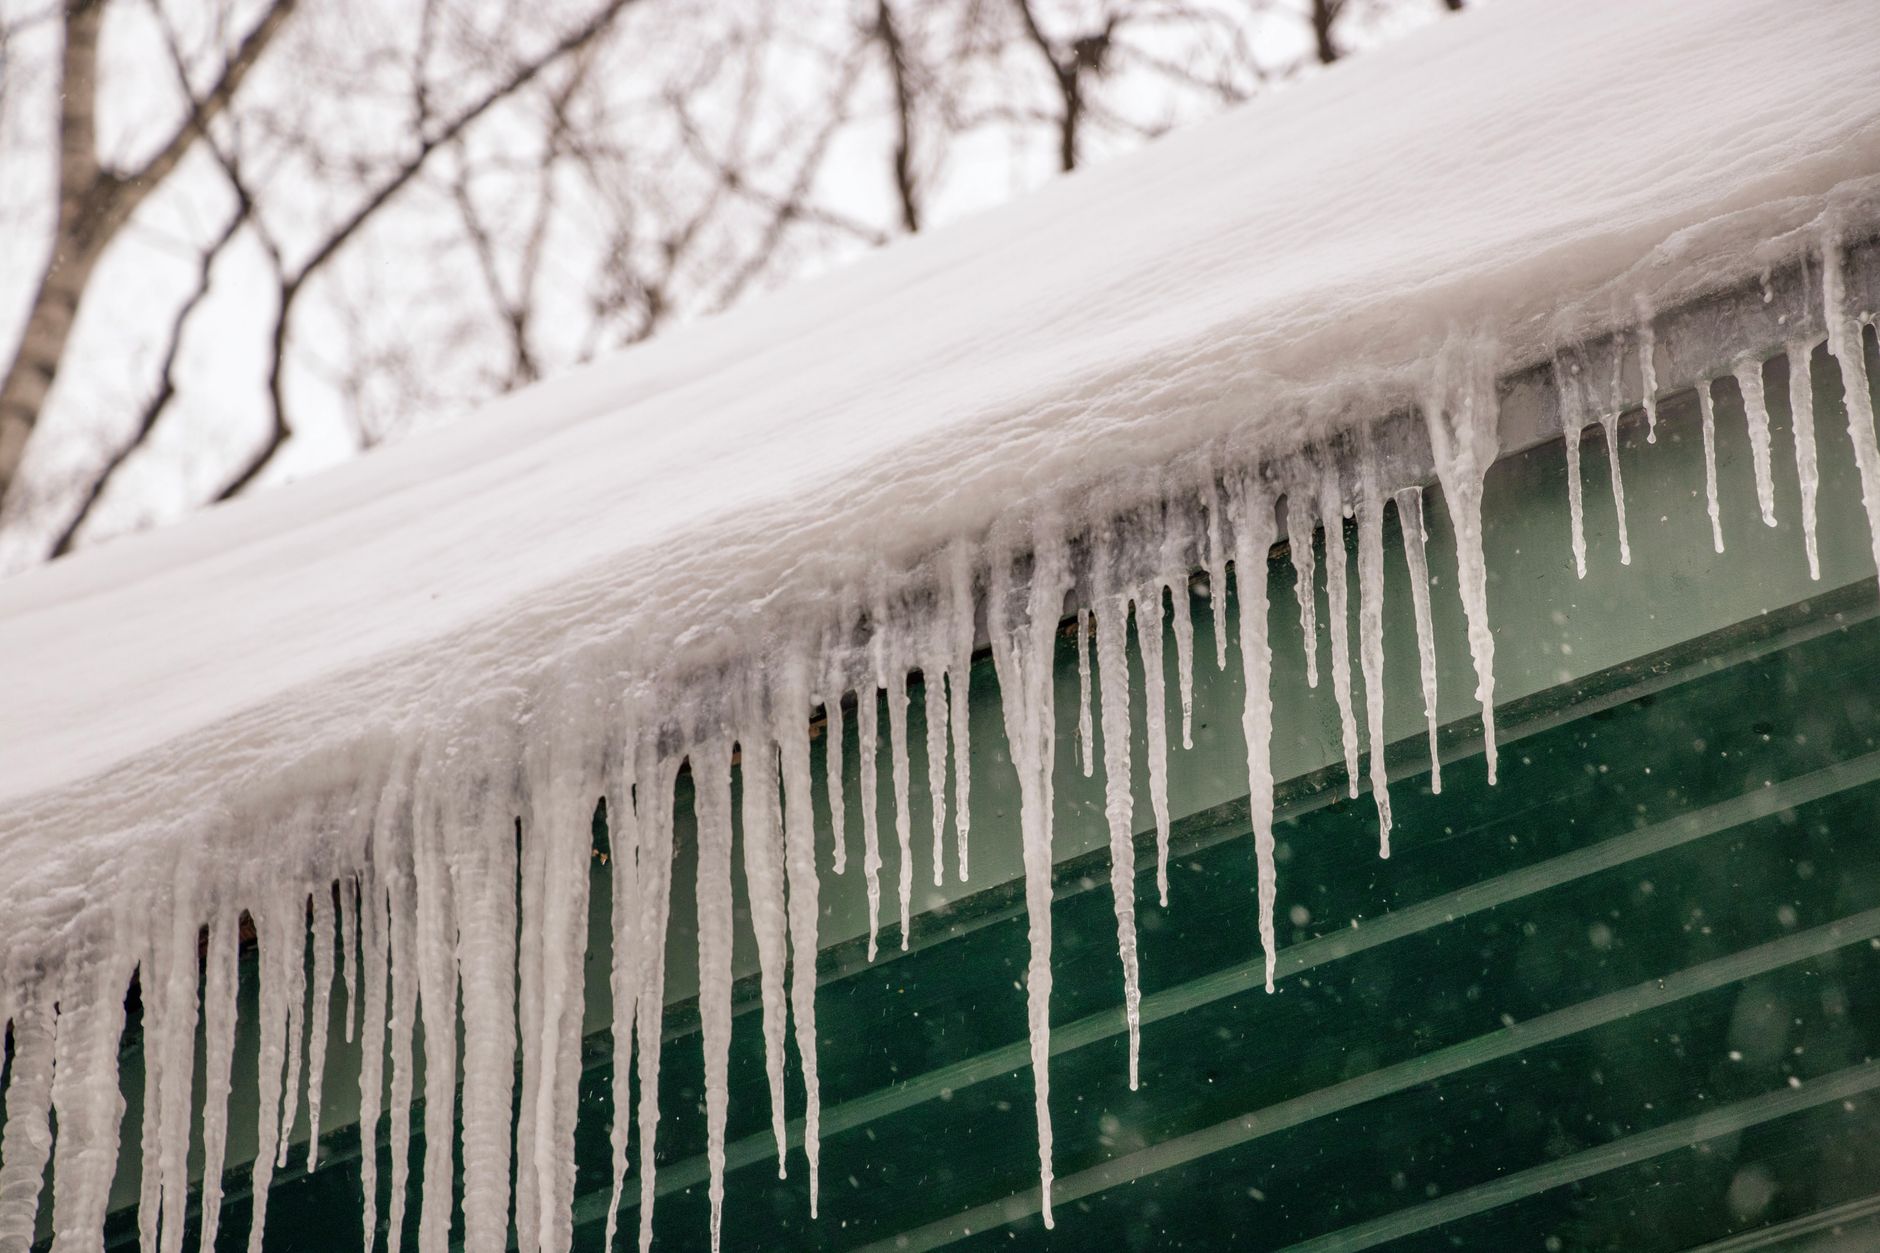
Research from GreenBuildingAdvisor shows that a simple post‑snowstorm inspection can expose exactly where heat is leaking. Snow that melts on a north‑facing slope while the opposite side remains untouched signals a localized hot spot—often a missing seal or a gap around a vent.
Key mechanisms behind roof heat loss
| Mechanism | How it works | Typical impact |
|---|---|---|
| Conduction | Heat moves directly through roof decking, insulation, and sheathing. | 30‑40% of roof loss when insulation is low. |
| Convection (air leakage) | Warm air rises into the attic and escapes through cracks, vent chases, and unsealed penetrations. | Often the dominant pathway; a single 1/4‑in. gap can move 100× more moisture than diffusion. |
| Radiation | Thermal waves emitted from interior surfaces; less than 10% of total loss. | Mostly through windows, not the roof. |
Air leakage and moisture
Uncontrolled leakage does more than waste heat. A family of four produces roughly 50 L of water vapour each week. When that moist air exits the attic through gaps, it can condense on cold roof sheathing, leading to mold, rot, and insulation degradation.
Diagnosing roof loss with snow‑melt patterns
After a snowfall, walk the roof and note where the snow disappears first. Areas that stay covered are likely well‑insulated and sealed. Melted zones point to:
- Open‑cell spray foam gaps around plumbing stacks.
- Unsealed chimney or vent caps.
- Metal ducts that conduct heat directly to the roof deck.
- Complex geometry such as dormers that are harder to seal.
Documenting these patterns gives a low‑cost, visual diagnostic that can be paired with an infrared scan for deeper insight.
Practical steps to reduce roof heat loss
- Seal roof penetrations. Use expanding foam or caulk around vents, ducts, and chimney flues. A well‑sealed chimney cap can stop up to 15% of attic leakage.
- Upgrade insulation. Aim for an attic R‑value of 30‑40 (or higher in cold zones). Closed‑cell spray foam reaches R‑6 per inch, while cellulose offers R‑3.5 per inch.
- Address duct heat loss. Insulate metal bathroom exhaust ducts with pipe wrap and seal any roof‑throughs.
- Consider ventilation strategy. In cold climates a ventilated attic reduces moisture; in milder zones a sealed, insulated attic can eliminate the need for continuous ventilation.
- Install an energy‑recovery ventilator (ERV). ERVs balance indoor humidity while recovering up to 80% of exhaust heat.
Cost‑benefit snapshot
Typical attic insulation upgrades cost $1‑$2 per cubic foot, compared with $5‑$6 per cubic foot for wall batts. For a 2,000‑sq‑ft home, adding R‑30 insulation can cut heating demand by 10‑15%, translating to $150‑$300 annual savings.
Balancing air sealing and ventilation
When you tighten the building envelope, indoor humidity rises. Aim for a relative humidity of 30‑50% to avoid condensation. If humidity climbs above 60%, consider a dedicated ventilation system or a simple exhaust fan with a timer.
Regulatory and rebate landscape
Most U.S. jurisdictions follow the International Energy Conservation Code, which mandates minimum attic R‑values of R‑38 in hot zones and R‑49 in cold zones. Many utilities offer rebates covering 20‑30% of insulation costs, especially when ENERGY STAR‑qualified products are used.
Quick‑reference checklist
- Inspect snow‑melt patterns after each storm.
- Perform a blower‑door test to locate air leaks.
- Seal all roof penetrations with foam or caulk.
- Upgrade insulation to meet or exceed local R‑value requirements.
- Verify ventilation design matches climate zone.
- Monitor indoor humidity; keep it between 30‑50%.
Looking for a deeper dive into your home’s thermal performance? If you would like more information on assessing your home’s thermal performance, you can explore a guide to a full home energy audit for additional insights.
Not sure which insulation upgrade offers the best fit for your home? If you are considering insulation upgrades, you may wish to consult local experts or request a professional assessment to determine the most suitable option for your climate and budget.
Emerging insulation technologies
Recent advances provide higher R‑values per inch and improved moisture management. Aerogel blankets, for example, can achieve R‑30 per inch while remaining thin enough for retrofit applications under existing decking. Vacuum insulated panels (VIPs) offer R‑40‑50 per inch but require careful sealing to prevent puncture. Bio‑based spray foams derived from soy or corn reduce VOC emissions and are gaining acceptance in green‑building programs. When selecting a new material, compare not only the nominal R‑value but also factors such as vapor permeability, fire rating, and long‑term durability in your climate zone.
Smart monitoring and data logging
IoT temperature and humidity sensors can be placed in the living space and attic to provide continuous performance data. When paired with a simple cloud‑based dashboard, homeowners can see real‑time temperature differentials, identify seasonal trends, and receive alerts if humidity exceeds recommended thresholds. Over a heating season, the logged data can be used to validate the estimated energy savings from insulation upgrades, supporting more accurate payback calculations.
Long‑Term Performance Monitoring
After installing insulation and air‑sealing measures, homeowners can track temperature differences between the living space and attic over months. A thermographic camera or simple thermometer set can reveal persistent hotspots. Maintaining a log of readings during heating and cooling cycles helps verify that the investment delivers the expected savings.
Energy Modeling and Simulation
Building information modeling (BIM) tools and HVAC simulation software can predict how roof upgrades influence overall building energy use. By inputting local climate data, envelope characteristics, and occupancy patterns, a model can estimate annual fuel consumption and payback time, assisting in decision‑making.
Case Study: A Midwestern Home
In a 2,500‑sq‑ft residence in Ohio, the homeowner noted high heating bills and a noticeably cold attic. A post‑snowstorm inspection revealed multiple unsealed vent openings and an R‑15 attic insulation level. A retrofit that added R‑38 blown‑in cellulose, sealed all penetrations, and installed a whole‑house fan reduced the heating bill by 12% ($360) in the first year and achieved a payback period of roughly 7 years.
Projected Energy Savings in Different Climate Zones
Heat loss through the roof varies greatly between cold, temperate, and hot climates. In a cold zone (e.g., Zone 6), a 30% reduction in roof heat loss can translate to a 12% drop in annual heating costs. In a temperate zone (Zone 3), the same improvement may reduce heating bills by about 8%, while in a hot zone (Zone 10), the savings are primarily in cooling costs, often 5–7% of the total energy bill. Homeowners can estimate the benefit of a roof retrofit by applying the following simplified equation:
ΔE = (ΔR ÷ R₀) × E₀
Where ΔE is the estimated energy savings, ΔR is the increase in R‑value, R₀ is the original R‑value of the attic, and E₀ is the current annual energy use for heating or cooling. Although this calculation provides a ballpark figure, detailed simulations will refine the estimate.
Roof Upgrade Maintenance Checklist
After completing insulation, sealing, and ventilation work, homeowners should perform periodic checks to ensure the roof remains in good condition. A simple yearly inspection can catch emerging issues before they become costly.
- Check the condition of roof penetrations: look for cracks in caulk or expanding foam, especially after storms.
- Inspect the attic for signs of moisture: condensation on rafters, mold growth, or damp insulation indicates a ventilation or sealing problem.
- Verify that ventilation fans or ERVs are running and that their filters are clean.
- Confirm that attic temperature does not exceed the recommended range for the insulation type.
- Record the results in a maintenance log; use the log to track trends over several seasons.
Implementing these steps helps maintain the energy efficiency gains achieved during the initial upgrade.
Frequently Asked Questions
Q: Can I add insulation to an existing roof without removing it?
A: Yes, many homeowners install blown‑in cellulose or spray foam directly under the existing roof deck. However, adding insulation without addressing roof ventilation can trap moisture, so a ventilation strategy should be part of the plan.
Q: Is it worthwhile to install a whole‑house fan in a milder climate?
A: In moderate zones, a whole‑house fan can provide balanced ventilation, but its benefit is limited to reducing humidity rather than saving heating or cooling energy. Consider the fan’s cost against the expected moisture control benefit.
Q: How often should I replace roof sealant?
A: Sealant generally lasts 5–7 years, but exposure to UV light and temperature cycles can accelerate wear. Inspect seals annually and replace any that show cracking or loss of adhesion.
Additional Resources
State and local utility companies often provide free or discounted energy audits and rebates for insulation upgrades. Websites such as Energy Saver – Insulation and ENERGY STAR offer detailed guidance and product lists tailored to your region.
Common Mistakes to Avoid
- Neglecting to seal chimney flues or vent stacks, which remain major leakage points.
- Installing insulation before ensuring proper ventilation, leading to moisture buildup.
- Choosing the wrong type of insulation for the local climate, such as using open‑cell foam in very dry zones.
- Overlooking the importance of continuous air‑tightness, assuming insulation alone will solve heat loss.
- Failing to document baseline energy use, making it difficult to assess improvements.
Adopting a systematic approach—diagnosing leaks, sealing, insulating, and monitoring—provides the best chance of achieving measurable energy savings and improved comfort over time.


