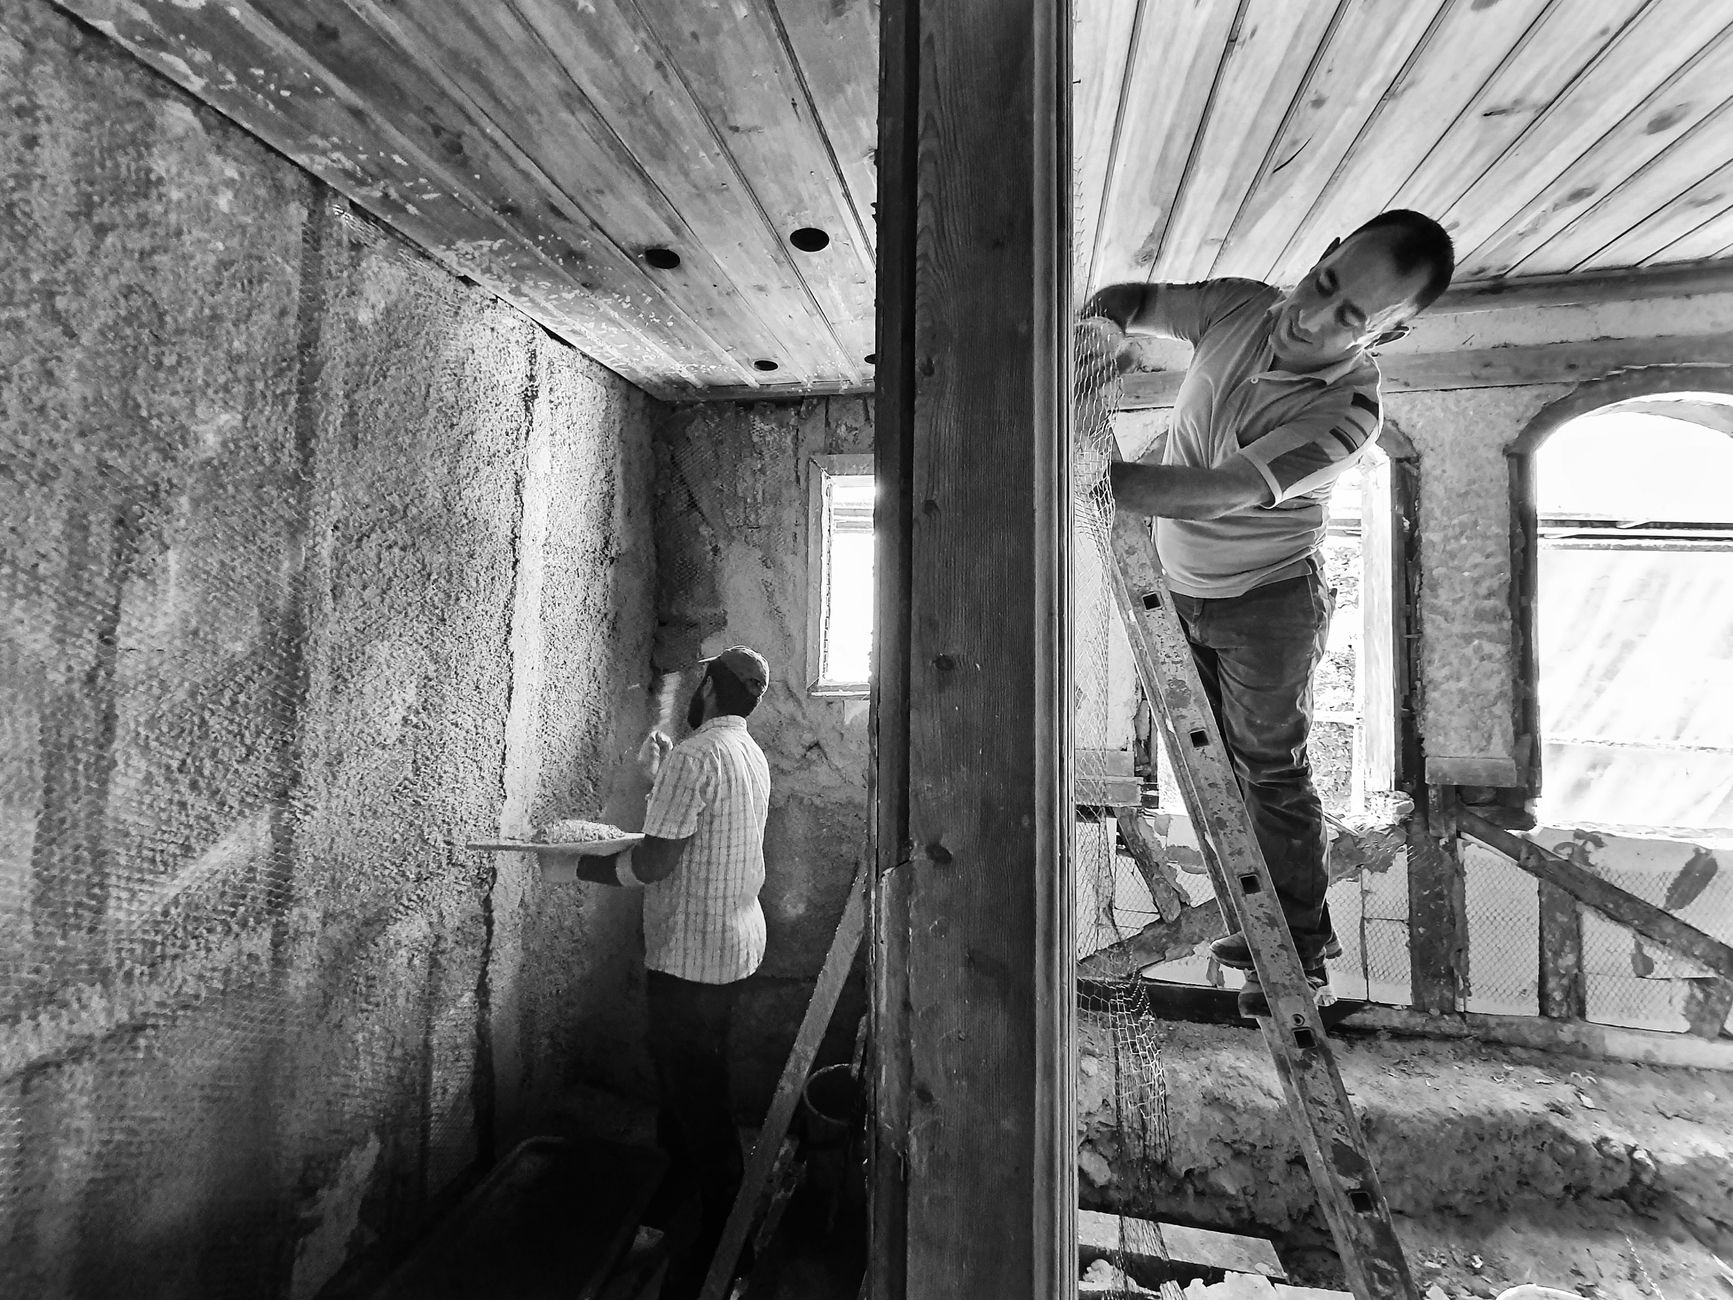
Why old homes spend more on utilities
Most houses built before the 1990s rely on single-pane windows, minimal attic fill, and HVAC units that predate modern efficiency standards. Those legacy components leak heat in winter and let hot air in summer, forcing furnaces and air-conditioners to work harder. The result is a utility bill that can be 20%-40% higher than a comparable newer home.
Phase 1 – Start with a professional home energy audit
A qualified auditor walks the home with a blower-door fan, infrared camera, and a checklist of common leak sites. The audit typically lasts 1-6 hours and costs an average of $300 to $700, though larger homes can see higher prices. Many utilities offer free or discounted assessments, so homeowners should call their provider first.
The audit report pinpoints three categories of loss:
- Air leakage around doors, windows, and penetrations
- Insulation gaps in the attic, walls, and crawl spaces
- Inefficient equipment that consumes excess electricity
According to the U.S. Department of Energy, addressing the audit's recommendations can shave 5%-30% off monthly energy costs. Homeowners are encouraged to check resources like the Database of State Incentives for Renewables & Efficiency (DSIRE) or consult their local utility for updated incentive programs.
For a step-by-step walkthrough of the audit process, see our Energy Audit Guide.
Phase 2 – Air sealing and insulation: the highest-impact upgrades
Once the audit highlights the worst offenders, the next move is to stop the air from escaping. The most common leak locations are:
- Window and door frames
- Attic hatch and roof penetrations
- Basement or crawl-space entry points
- Unsealed ductwork
Weatherstripping, caulk, expanding foam, and spray-foam sealant are inexpensive tools that can reduce heat loss by 10%-25% in a typical old house. Duct sealing is another critical step, as leaky ductwork can account for up to 20% of heating and cooling energy losses. Sealing ducts with mastic or specialized tape, followed by insulation, ensures air reaches its intended destination efficiently.
Insulation works hand-in-hand with sealing. Adding R-30 to an unfinished attic, or upgrading wall cavities to blown-in cellulose, can cut heating loads dramatically. Below is a quick reference table that matches common insulation upgrades with expected savings and typical costs.
| Upgrade | Typical R-Value Added | Estimated Annual Savings | Average Cost (USD) |
|---|---|---|---|
| Attic blanket (fiberglass) | R-19 to R-30 | $150-$250 | $1,200-$2,000 |
| Blown-in cellulose (walls) | R-13 to R-15 | $100-$180 | $1,500-$2,500 |
| Spray-foam (open-cell) ceiling | R-6 per inch | $200-$350 | $2,500-$4,000 |
Investing in insulation first also shrinks the size of any future solar array because the home will need less electricity to stay comfortable.
For a deeper look at attic insulation options, visit our Attic Insulation guide.
Phase 3 – Keep the HVAC system running efficiently
Even a well-sealed house can waste energy if the furnace or air conditioner is dirty, out of balance, or set to extreme temperatures. Follow these simple maintenance habits:
- Schedule a professional service once a year (typically before heating season).
- Replace or clean filters every 90 days; ensure filters are compatible with your system to maintain proper airflow.
- Install a programmable or smart thermostat and set back 1-2 °F at night or when the house is empty.
- Use ceiling fans in the summer to create a wind-chill effect, allowing the thermostat to be set 2-3 °F higher.
These actions alone can trim HVAC-related electricity use by roughly 10%-15%.
Learn more about smart thermostat programming in our Smart Thermostats article.
Phase 4 – Upgrade fixtures and appliances with proven efficiency
Lighting is a quick win. Energy-Star LED bulbs consume at least 75% less power and last up to 25 times longer than incandescent lamps. Replacing a typical 60-W bulb with a 10-W LED saves about $5 per year per fixture.
Water-saving hardware also reduces the energy needed to heat water. WaterSense-certified showerheads cut flow from 2.5 gpm to 1.8 gpm while maintaining pressure, saving roughly 200 kWh annually in a typical household.
When major appliances reach the end of their useful life, choose Energy Star models. A modern refrigerator uses 40%-50% less electricity than a pre-1990 unit. Likewise, Energy Star dishwashers and washers cut energy use by 30%-50% per load.
For devices that stay plugged in, use power strips or smart outlets to eliminate "vampire" loads from electronics such as game consoles and home-theater receivers.
Phase 5 – Solar after you've tightened the envelope
With a sealed building envelope and efficient HVAC, the remaining electricity demand drops significantly. An average residential solar system costs about $18,600 before incentives. If the home's annual electricity use falls from 12,000 kWh to 7,000 kWh after the previous phases, the required panel capacity shrinks by approximately 40%, potentially saving a substantial amount in upfront costs.
Before committing, homeowners should verify local permitting rules, historic-district restrictions, and available rebates. The federal Clean Energy Credit currently offers 30% of system costs, though this percentage is subject to change. State and local incentives vary widely—check the Database of State Incentives for Renewables & Efficiency (DSIRE) or consult local authorities for the latest details.
DIY vs. professional upgrades
Some improvements are straightforward enough for confident homeowners, while others require specialized equipment or certification. DIY-friendly tasks include applying caulk around window frames, installing weatherstripping, switching to LED bulbs, and setting programmable thermostats. These tasks typically require minimal investment and basic tools. Projects involving blower-door testing, spray-foam application, duct sealing, or electrical work should be left to licensed professionals. Improper installation can reduce effectiveness or create safety hazards. A professional auditor can also advise which tasks suit your skill level and budget.
Climate-zone and R-value guidance
Insulation needs vary by climate zone. The U.S. Department of Energy divides the country into eight zones, each with recommended R-values for attics, walls, and floors. For example, attics in cold northern climates may need R-49 to R-60, while mild southern zones may require only R-30 to R-38. Walls typically range from R-13 to R-21 depending on region. Before purchasing materials, check the DOE's climate-zone map and your local building codes to ensure you select the right R-value for your area. Choosing the correct insulation level avoids underperformance in winter or wasted money on over-insulation in milder climates.
Energy savings checklist
Use this checklist to track your progress through each phase:
- ☐ Complete a professional home energy audit
- ☐ Seal air leaks around windows, doors, and penetrations
- ☐ Upgrade attic insulation to the R-value recommended for your climate zone
- ☐ Seal and insulate ductwork
- ☐ Schedule annual HVAC maintenance
- ☐ Install a programmable or smart thermostat
- ☐ Replace incandescent bulbs with LEDs
- ☐ Install WaterSense-certified fixtures
- ☐ Upgrade aging appliances to Energy Star models
- ☐ Evaluate solar only after envelope and HVAC improvements are complete
Putting it all together
The most cost-effective path starts with data, not demolition. A professional audit reveals where money is leaking. Sealing and insulating close those gaps, allowing the existing furnace or AC to run at lower capacity. Regular HVAC care, smart temperature control, and efficient lighting/appliance upgrades then capture the remaining low-hanging fruit. Only after those steps should a homeowner evaluate solar, because the reduced load means a smaller, more affordable array.
Homeowners who follow this phased approach commonly see 10%-20% savings in the first year and up to 30% after a full upgrade cycle, all while enjoying steadier indoor temperatures and quieter equipment.
Next steps: Consult with a certified professional to assess your home's energy efficiency and develop a tailored plan aligned with your budget and goals.


