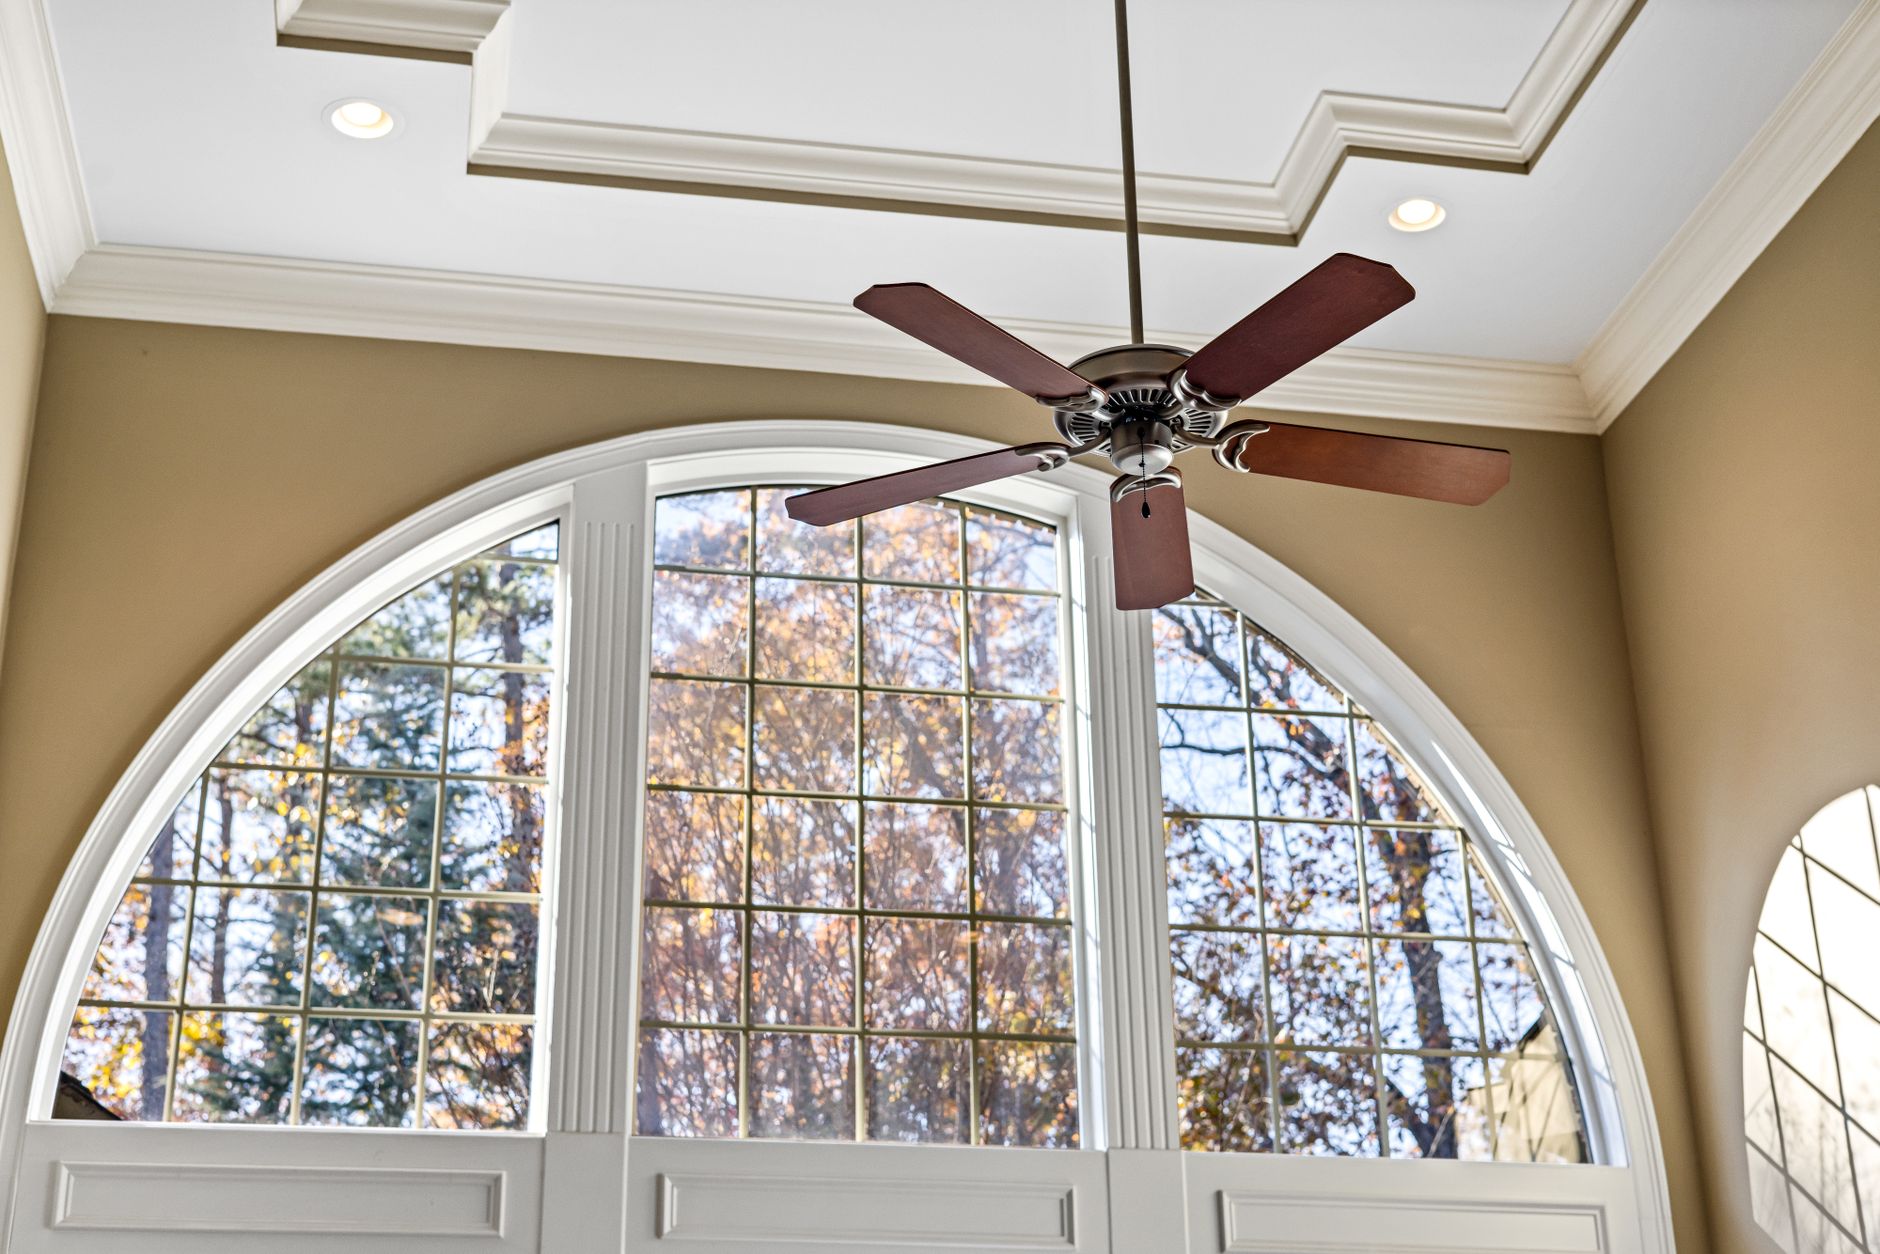
Cold windows: a clear indicator of hidden energy loss
When you press your palm against a window and feel a chill, you’re experiencing a direct symptom of heat escaping your home. In many U.S. residences, windows account for 25% to 30% of heating and cooling loss. This proportion translates into higher utility bills and increased wear on HVAC systems.
What makes a window feel cold?
The core culprit is often single‑pane glass, which has a high thermal conductivity. Heat flows from the warmer indoor air into the glass and quickly radiates outward to the cooler exterior. A single pane’s U‑value can be as high as 0.6 BTU/(hr·ft²·°F), meaning it loses heat at a rate that single‑pane windows cannot match modern standards.
Another factor is the window frame. Aluminum frames, common in older homes, conduct heat efficiently from the inside to the outside, creating a “thermal bridge.” When the frame is not properly insulated, the interior surface can be nearly as cold as the glass itself.
Beyond drafts: moisture, mold, and indoor air quality
Cold windows also create a micro‑climate that encourages condensation. Warm, humid indoor air meets a frozen glass surface, water droplets form, and mold spores find a breeding ground. For property managers, this can lead to liability issues and costly remediation.
How do modern windows fight the chill?
Upgrading to double‑pane or triple‑pane windows filled with argon gas can dramatically lower heat transfer. The gas layer reduces conduction, and the additional pane adds another barrier to heat escape. Low‑Emissivity (Low‑E) coatings reflect infrared energy back into the room during winter while limiting solar gain in the summer, making the system more balanced.
Switching from aluminum to thermally broken vinyl or fiberglass frames eliminates the thermal bridge. The broken section insulates the frame, keeping the interior surface warmer and improving the seal around the sash.
Cost vs. benefit: can an upgrade pay for itself?
Energy Star‑certified windows can save homeowners an estimated $126 to $465 annually, depending on climate zone. These savings arise from reduced heating demand, less frequent HVAC cycling, and the ability to lower thermostat settings by one to two degrees without sacrificing comfort. A simple cost‑benefit analysis shows a payback period of 3–6 years for many households.
Comparing window types: a quick reference
| Window Type | U‑value (BTU/hr·ft²·°F) | R‑value | Approx. Cost per sq ft | Typical Energy Savings vs. Single Pane | Notes |
|---|---|---|---|---|---|
| Single‑Pane | 0.60 | 1.67 | $3–$5 | 0% | Standard, no insulation |
| Double‑Pane (Air Gaps) | 0.30 | 3.33 | $5–$8 | ≈50% | Standard upgrade |
| Double‑Pane (Argon Gas) | 0.25 | 4.00 | $6–$10 | ≈60% | Best balance of cost and performance |
| Triple‑Pane (Argon) | 0.15 | 6.67 | $10–$15 | ≈75% | Highest performance, highest cost |
| Low‑E Coating | 0.20 | 5.00 | $7–$12 | ≈70% | Improves winter and summer performance |
Evaluating the right option for your home
Choosing the correct window upgrade involves more than just picking the newest technology. Homeowners should first assess the existing window’s frame material, the presence of any existing sealant, and the typical indoor-outdoor temperature differential. In colder climates, triple‑pane windows with Low‑E coatings provide the greatest benefit, while in milder climates, a high‑quality double‑pane with argon may suffice.
Thermal bridging is often overlooked. Even if you install premium glass, a metal frame can still conduct heat away from the interior. Inspecting the frame for gaps or wear and applying a proper thermal break can be a cost‑effective step before investing in new glass.
Sealing is the most accessible first step. A simple weatherstripping kit can eliminate draft and reduce condensation risk. If the sash gaps are larger than a quarter inch, replacing the sealant or installing a new weatherstrip can lower U‑values by up to 10%.
When to replace vs. repair
If a window frame shows signs of rot, warping, or extensive paint peeling, replacement may be necessary. In contrast, if the sash operates smoothly and the glass remains intact, a refurbishment—installing new glazing and sealants—can be an efficient solution.
Professional assessments can help determine whether a retrofit or full replacement is more economical in the long run. Energy audits often reveal hidden losses that a simple visual inspection may miss.
How ProNest CX can help you make an informed decision
Our role is to provide objective information and guidance, not a hard‑sell. By reviewing your specific conditions—climate, budget, and design preferences—we can recommend the best window configuration for your home. This approach ensures that you achieve energy savings without compromising aesthetics or structural integrity.
Want a detailed guide on window materials? Check our Window Replacement Guide for step‑by‑step options.
Need help choosing the right sealant? Explore our sealant resources to match your climate.
Take the next step toward a warmer, more efficient home
Assessing window performance is the first step in reducing your energy footprint. Gather photos of your existing frames, note any visible gaps, and track your heating bill over the next month. This data will give you a baseline against which to measure improvement after any upgrades.
When you’re ready, schedule a free, no‑obligation assessment. Our advisors will walk you through the available options, present cost‑benefit calculations, and help you understand the long‑term impact on comfort and utility costs.
Looking to improve thermal efficiency without compromising design? Contact our team to evaluate the right window and door upgrades for your project.
Assessing Long-Term Energy Savings
When investing in home upgrades, initial installation costs are only part of the equation. Homeowners must weigh upfront expenses against long-term utility bill reductions, thermal performance gains, and potential property value increases.
Material Quality and Durability Standards
Choosing high-performance materials—such as energy-efficient window glazing, advanced insulation fibers, or weather-resistant roofing—ensures structural longevity and minimizes ongoing maintenance overhead.
Assessing Professional Installation vs. DIY
While minor cosmetic updates can be handled independently, major efficiency retrofits require specialized expertise. Professional installation ensures compliance with local building codes and protects manufacturer warranties.
Project Timelines and Weather Windows
Home improvement schedules vary based on project scope and seasonal conditions. Proper planning ensures that exterior renovations or weatherproofing initiatives are completed efficiently without disrupting daily routines.
Maximizing Rebates and Financing Incentives
Many regional and federal programs offer tax credits or rebates for energy-efficient home upgrades. Evaluating these financial incentives early can significantly offset total project costs.
Warranty Coverage and Quality Assurance
Reliable service providers back their installations with comprehensive workmanship guarantees and manufacturer warranties, giving homeowners long-term peace of mind.
Ultimately, a successful home improvement project should enhance your property's daily comfort, boost energy efficiency, and provide long-lasting value for years to come.
Ultimately, a successful home improvement project should enhance your property's daily comfort, boost energy efficiency, and provide long-lasting value for years to come.
Ultimately, a successful home improvement project should enhance your property's daily comfort, boost energy efficiency, and provide long-lasting value for years to come.
Ultimately, a successful home improvement project should enhance your property's daily comfort, boost energy efficiency, and provide long-lasting value for years to come.
Ultimately, a successful home improvement project should enhance your property's daily comfort, boost energy efficiency, and provide long-lasting value for years to come.


