Understanding the Up‑and‑Down Temperature Gap
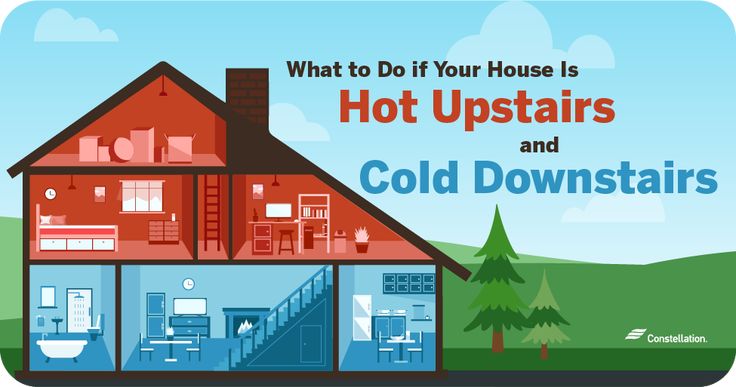
Homeowners often notice the upper level becoming a warm retreat in summer while the lower level feels like a refrigerator. The pattern reverses in winter, with upstairs feeling chilly and the basement staying relatively warm. This uneven distribution is not a design flaw; it is a symptom of how heat moves, how the building envelope performs, and how the mechanical system is set up.
Heat Naturally Rises – The Science Behind It
Air is less dense when warm, so it rises toward the ceiling. In a multi‑story house, this creates a natural gradient of about 3 °F per floor if nothing interferes. The effect is amplified when the attic or roof assembly is poorly insulated, allowing the sun‑heated roof deck to act like a giant radiator that pours warmth into the space below.
Insulation Gaps Are Often the Culprit
Insulation that is missing, compressed, or unevenly installed lets heat escape or enter at different rates on each floor. For example, a 2×4 wall with only R‑13 batts may allow a summer day’s exterior heat to seep into the upstairs rooms, while a well‑filled crawl space under the first floor retains more heat, keeping the lower level cooler.
Air Leakage Creates Uncontrolled Mixing
Unsealed cracks around windows, doors, and service penetrations act like hidden vents. Warm air from the attic can pour through a gap in the roof sheathing and settle on the second floor, while cold air from the basement floor drains upward through the same pathways, reinforcing the temperature swing.
Ductwork Layout Influences Airflow Balance
Many homes have supply ducts that travel through the attic before reaching the upstairs rooms. If the ducts are not insulated, the air they carry loses temperature before arriving. Likewise, return ducts that pull air from the lower level may over‑condition that space, leaving the upper floor under‑served.
HVAC Sizing and System Balance Matter
An oversized furnace or air‑conditioner cycles quickly, delivering short bursts of conditioned air that do not have time to distribute evenly. The result is a hot ceiling on the top floor and a cooler floor below. Properly balancing the system with dampers or a zoning controller can smooth the distribution.
Thermostat Placement Affects Perception
When a thermostat sits on a wall that receives direct sunlight or is near a draft, it reports a temperature that does not represent the whole house. A thermostat reading high on a sunny wall will shut off cooling early, leaving upstairs rooms hotter.
Sun Exposure and Window Performance
South‑facing windows on the second floor receive more solar gain than windows on the ground floor. Single‑pane or low‑efficiency glazing lets that heat in, while the lower level may have fewer windows or shaded openings, creating a natural heat imbalance.
Moisture and Humidity Play a Role
Moist air feels warmer than dry air at the same temperature. A damp basement can feel cooler because evaporation draws heat away from the skin. Conversely, a dry attic may feel hotter, especially in winter when the heating system dries indoor air.
For deeper insight on sealing gaps, see our air sealing tips article.
DIY Checks Before Calling a Professional
Start with a quick visual inspection. Look for missing insulation in the attic, gaps around window frames, and exposed ductwork. Use a handheld infrared thermometer to compare wall temperatures on each floor; a difference greater than 5 °F suggests a problem area. Finally, close all interior doors and run the HVAC system for 30 minutes; note which rooms receive the strongest airflow.
When to Bring in an Energy Professional
If the DIY audit uncovers multiple issues, a certified energy auditor can perform a blower‑door test, thermographic imaging, and airflow measurement. The audit will produce a prioritized list of upgrades, each with an estimated payback period based on local utility rates.
Looking for guidance on system upgrades? Explore our HVAC balancing guide.
Common Causes and Practical Fixes
CauseTypical FixEstimated CostInsufficient attic insulationInstall blown‑in cellulose to R‑38$1,200‑$2,500Air leaks around windows/doorsApply caulk, weatherstripping, and spray foam$300‑$800Uninsulated supply ducts in atticWrap ducts with foil‑faced insulation$500‑$1,100Oversized HVAC systemInstall zoning dampers or replace unit$1,000‑$3,000Poor thermostat locationRelocate or add remote sensors$150‑$400 Cost Considerations and Return on Investment
Insulation upgrades often pay for themselves within 3‑5 years through lower heating and cooling bills. Zoning controls can reduce HVAC run time by 10‑15 %, translating to roughly $200‑$400 annual savings for an average household. While a full system replacement is a larger expense, it can improve comfort and efficiency by 20‑30 %.
Putting It All Together
Balancing temperature across floors requires a systematic approach: seal leaks, boost insulation, protect ductwork, and fine‑tune the HVAC system. Each step reduces the thermal gradient and improves overall energy performance.
Planning a home upgrade or insulation project? Contact our ProNestCX team for a consultation and quote.
Assessing Long-Term Energy Savings
When investing in home upgrades, initial installation costs are only part of the equation. Homeowners must weigh upfront expenses against long-term utility bill reductions, thermal performance gains, and potential property value increases.
Material Quality and Durability Standards
Choosing high-performance materials—such as energy-efficient window glazing, advanced insulation fibers, or weather-resistant roofing—ensures structural longevity and minimizes ongoing maintenance overhead.
Assessing Professional Installation vs. DIY
While minor cosmetic updates can be handled independently, major efficiency retrofits require specialized expertise. Professional installation ensures compliance with local building codes and protects manufacturer warranties.
Project Timelines and Weather Windows
Home improvement schedules vary based on project scope and seasonal conditions. Proper planning ensures that exterior renovations or weatherproofing initiatives are completed efficiently without disrupting daily routines.
Maximizing Rebates and Financing Incentives
Many regional and federal programs offer tax credits or rebates for energy-efficient home upgrades. Evaluating these financial incentives early can significantly offset total project costs.
Warranty Coverage and Quality Assurance
Reliable service providers back their installations with comprehensive workmanship guarantees and manufacturer warranties, giving homeowners long-term peace of mind.
Ultimately, a successful home improvement project should enhance your property's daily comfort, boost energy efficiency, and provide long-lasting value for years to come.


