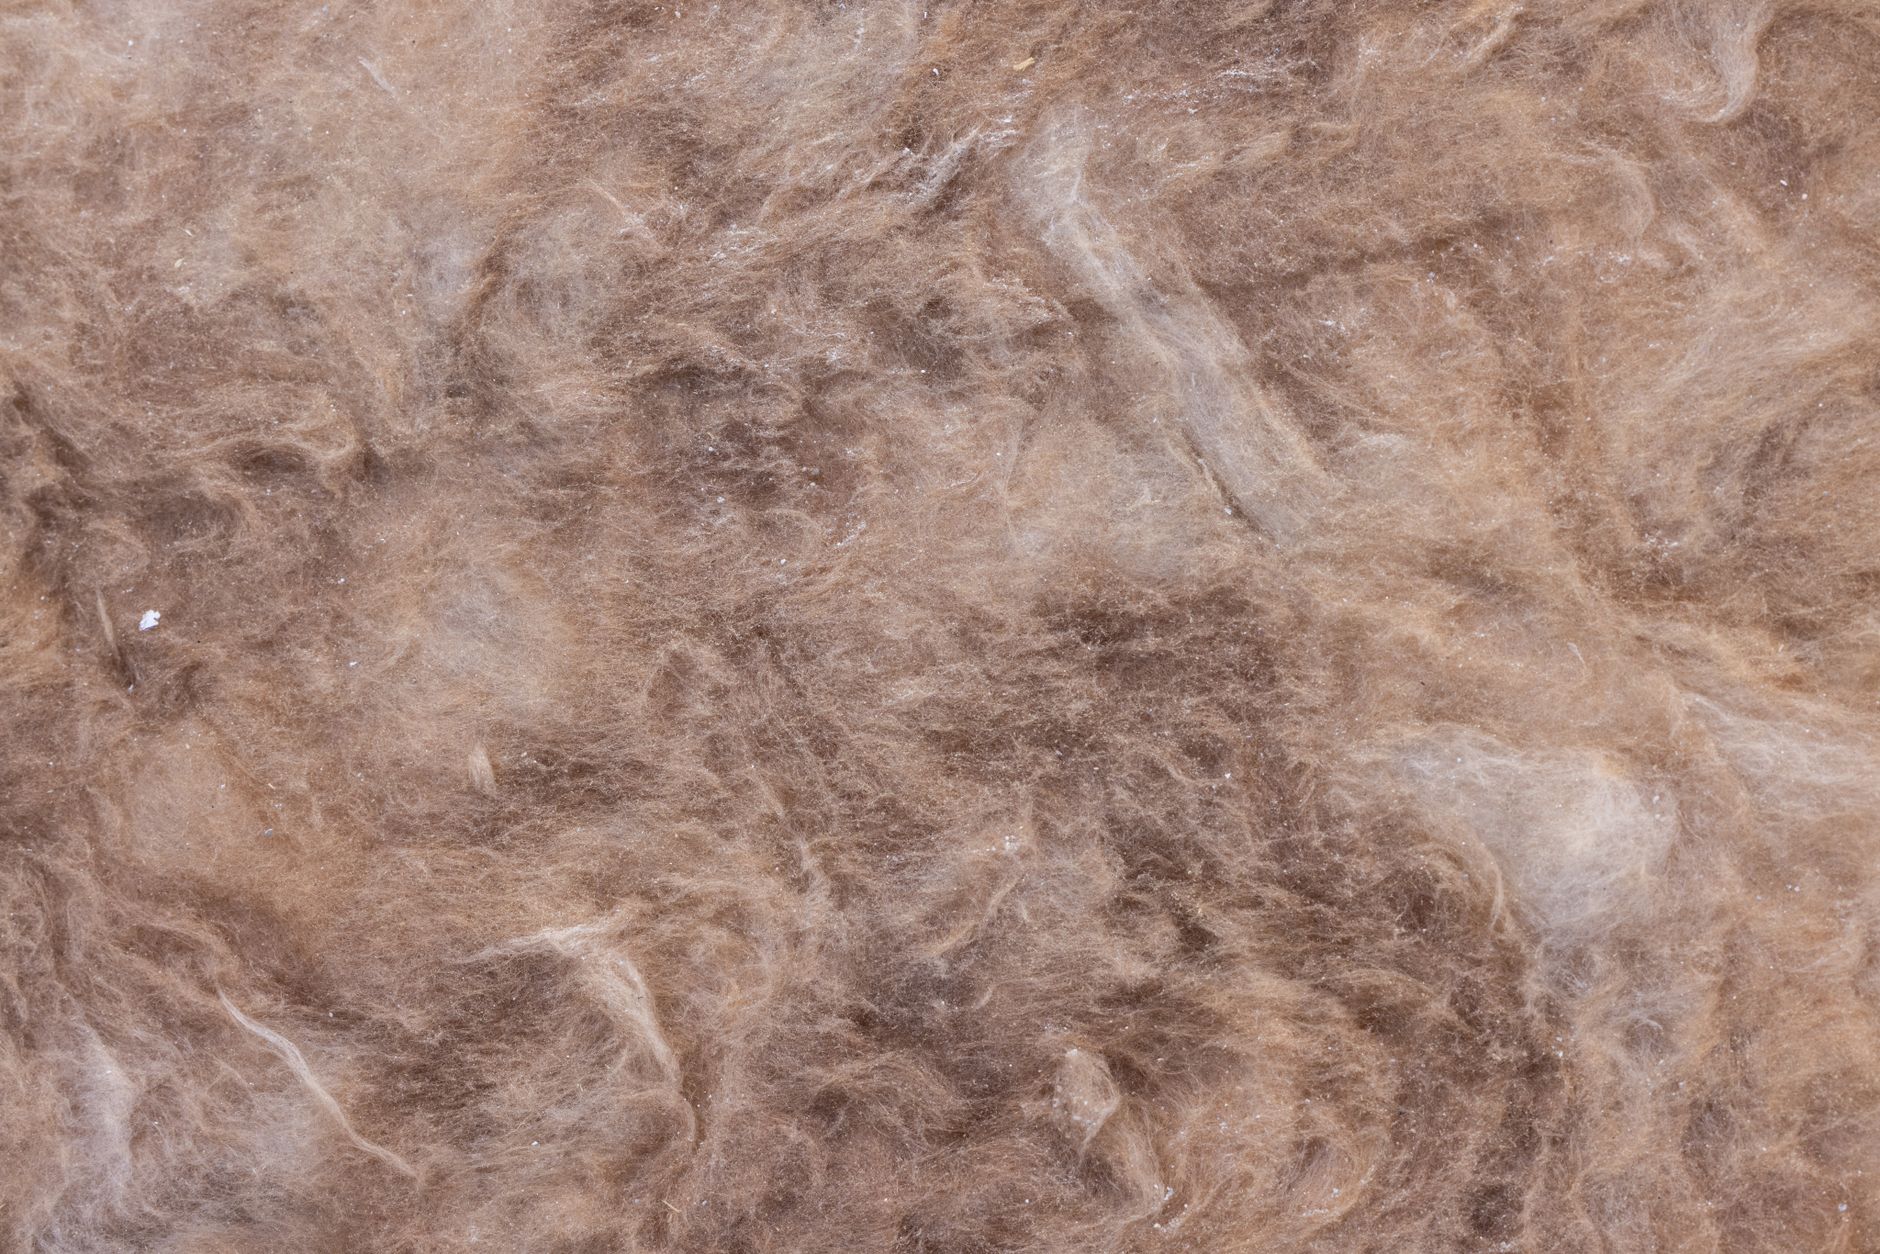
When upgrading attic insulation, homeowners often face a critical choice: roll insulation or blown-in insulation. Both options have their advantages and drawbacks, and understanding these differences is essential for making an informed decision.
Roll insulation, commonly made from fiberglass batts, is a popular choice due to its affordability and ease of installation. However, it has several limitations that can significantly impact its performance and longevity.
Roll Insulation: Common but Problematic
Fiberglass batts are rigid and do not conform to the irregularities of attic spaces. This creates gaps around obstructions such as wiring, plumbing, and ductwork, which can compromise the insulation's effectiveness. An estimated 10-20% of a typical older attic floor can be compromised by these gaps, rendering those areas effectively uninsulated.
Additionally, fiberglass is permeable to air, allowing cold air to move through it in ventilated attics. This phenomenon, known as wind washing, can degrade an R-38 batt's real-world performance to R-25 or less. Over time, fiberglass batts can also compress, shift, or be disturbed, further reducing their effectiveness. An R-30 batt installed in 1990 might perform at R-15 today.
Fiberglass offers nesting material for pests like mice and retains moisture, leading to reduced R-value and potential mold growth.
Blown-In Insulation: Superior Performance
Blown-in cellulose insulation, made from 85% recycled newspaper treated with borate for fire and pest resistance, offers superior performance compared to fiberglass batts. Installed by blowing it through a hose, cellulose fills every void, gap, and irregular space, creating a continuous, gap-free thermal layer. This ensures that when installed to R-50, every square inch of the attic floor truly reaches R-50.
With an installed density of approximately 1.5 pounds per cubic foot, cellulose resists air movement, preventing wind washing and maintaining its rated R-value even in ventilated attics. The borate treatment deters pests and provides a Class 1 fire rating, causing the material to char in place rather than melt or spread flames.
Installation and Cost Considerations
Installation often involves removing old insulation to allow for crucial air sealing of penetrations (wiring, pipes, etc.) before the cellulose is blown in. This 'seal first, then insulate' approach is vital for optimal performance. While the initial cost for blown-in cellulose is slightly higher—ranging from $4,000-$6,000 for a 1,200 sq ft attic to R-50, compared to $3,500-$5,000 for fiberglass batts—the significant performance difference, faster installation (4-6 hours vs. 1-2 days for batts), and long-term benefits typically justify the investment.
Key Differences: Roll Insulation vs Blown-In Insulation
| Feature | Roll Insulation | Blown-In Insulation |
|---|---|---|
| Conformance to Attic Irregularities | Does not conform, creating gaps | Fills every void, gap, and irregular space |
| Air Permeability | Permeable, leading to wind washing | Resists air movement, maintaining R-value |
| Pest and Fire Resistance | Low resistance, potential for pest nesting | High resistance, borate treatment deters pests |
| Installation Time | 1-2 days | 4-6 hours |
| Cost | $3,500-$5,000 for R-50 | $4,000-$6,000 for R-50 |
In conclusion, while roll insulation is a common and affordable option, blown-in insulation offers superior performance and long-term benefits. The initial cost difference is often justified by the significant performance gains and faster installation time.
Not sure which insulation upgrade offers the best fit for your home? Consult with our experts to explore thermal performance options.
Assessing Long-Term Energy Savings
When investing in home upgrades, initial installation costs are only part of the equation. Homeowners must weigh upfront expenses against long-term utility bill reductions, thermal performance gains, and potential property value increases.
Material Quality and Durability Standards
Choosing high-performance materials—such as energy-efficient window glazing, advanced insulation fibers, or weather-resistant roofing—ensures structural longevity and minimizes ongoing maintenance overhead.
Assessing Professional Installation vs. DIY
While minor cosmetic updates can be handled independently, major efficiency retrofits require specialized expertise. Professional installation ensures compliance with local building codes and protects manufacturer warranties.
Project Timelines and Weather Windows
Home improvement schedules vary based on project scope and seasonal conditions. Proper planning ensures that exterior renovations or weatherproofing initiatives are completed efficiently without disrupting daily routines.
Maximizing Rebates and Financing Incentives
Many regional and federal programs offer tax credits or rebates for energy-efficient home upgrades. Evaluating these financial incentives early can significantly offset total project costs.
Warranty Coverage and Quality Assurance
Reliable service providers back their installations with comprehensive workmanship guarantees and manufacturer warranties, giving homeowners long-term peace of mind.
Ultimately, a successful home improvement project should enhance your property's daily comfort, boost energy efficiency, and provide long-lasting value for years to come.